5-Ingredient Natural Lip Balm Recipe for Soft Lips

Dry, chapped lips are a common problem in harsh winters. I found a homemade lip balm that changed my lip care forever. Making your own natural lip balm is empowering. It lets you control what touches your sensitive skin.
DIY lip balm recipes are becoming more popular. People are looking for alternatives to products with synthetic ingredients. With just five simple ingredients, you can make a nourishing homemade lip balm.
Natural lip balms are simple to make. Most recipes use only 4-5 ingredients, with coconut oil being the most common base. Your lips deserve gentle care from nature’s pantry.
By making your own lip balm, you save money and avoid harsh chemicals. You also get a product that’s tailored to your needs. This 5-ingredient natural lip balm recipe will be your new skincare secret.
Get ready to change your lip care routine with a simple, effective solution. It’s kind to your skin and the environment. Your journey to softer, more nourished lips starts here.
Understanding the Benefits of Natural Lip Care
Your lips need extra care because they are very sensitive. Unlike other skin, lips don’t have sebaceous glands and are very thin. Natural lip care is a great way to protect and nourish them.
Choosing natural lip balm is more than just moisturizing. It’s also good for your health and the planet.
Why Choose Natural Over Commercial Products
- Eliminates harmful synthetic chemicals
- Provides pure, skin-friendly ingredients
- Supports sustainable skincare practices
Key Advantages for Skin Health
Natural lip balm ingredients are amazing for your lips. AvenaPLex, a key ingredient, offers great nutrition:
- Ceramides: 4% concentration supporting skin barrier function
- Avenanthramides: 300 ppm for moisture retention
- Vitamin E: >100 ppm antioxidant protection
- Omega 3, 6, and 9 fatty acids for enhanced moisturization
Environmental Impact of Natural Ingredients
Natural lip care is better for the planet. Eco-friendly, biodegradable ingredients help protect our environment while caring for your lips.
Dermatologically tested natural lip balm ingredients are safe and effective. Regular use can greatly reduce lip chapping and keep your lips healthy.
Essential Ingredients for Your DIY Lip Balm
Making a natural lip balm starts with knowing the key ingredients. These ingredients turn simple parts into a nourishing skincare product. Your DIY lip balm journey begins with choosing high-quality, natural ingredients. These ingredients provide ultimate lip protection and hydration.
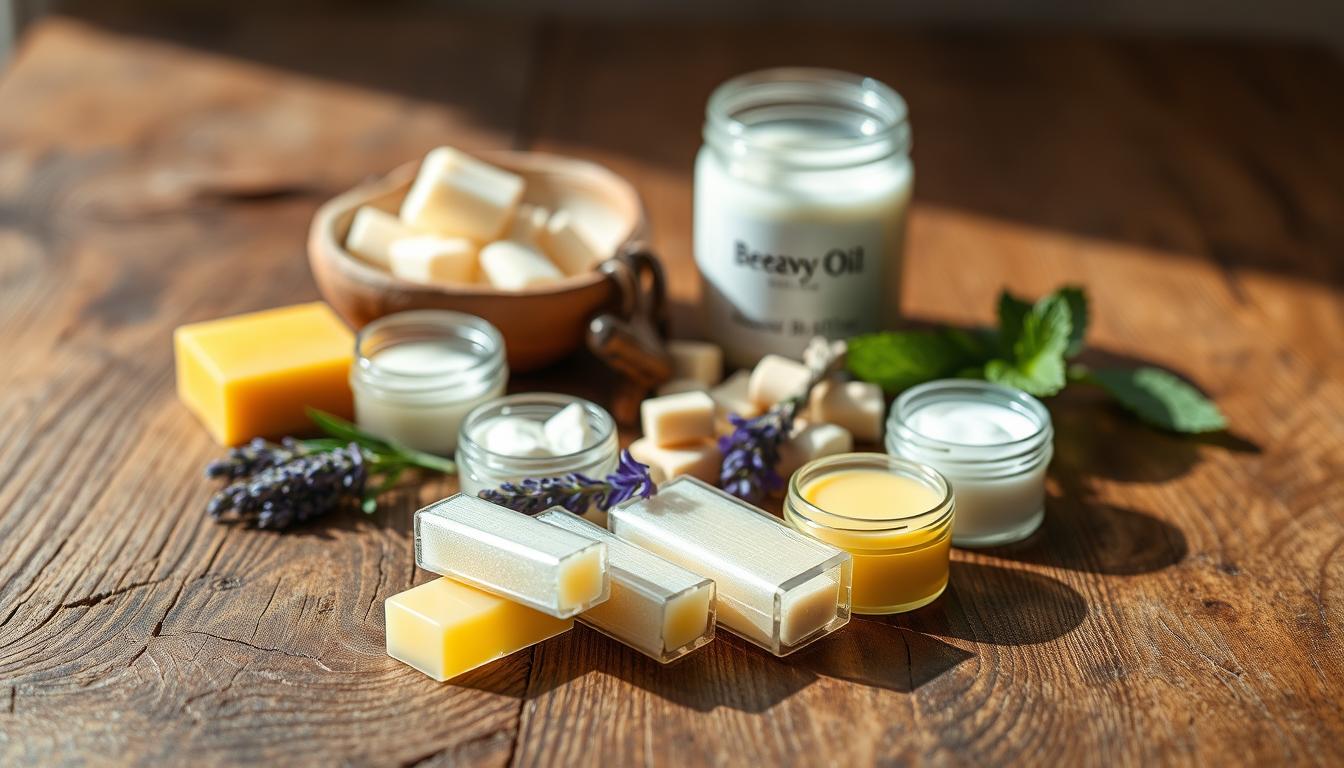
When making a natural lip balm, focus on five essential ingredients. These ingredients work together to create a powerful healing solution for your lips:
- Beeswax: A natural hardening agent that provides structure
- Carrier oils: Moisturizing base for lip balm ingredients
- Butter (shea or cocoa): Deep hydration and skin protection
- Essential oils: Natural fragrance and therapeutic benefits
- Vitamin E oil: Natural preservative and skin conditioning agent
Each ingredient in your DIY lip balm is crucial for moisture and lip skin protection. Natural lip balm ingredients work together to create a product that’s both effective and safe.
| Ingredient | Function | Recommended Quantity |
|---|---|---|
| Beeswax | Provides structure and protection | 2-3 teaspoons (7-10g) |
| Coconut Oil | Moisturizing base | 2 tablespoons |
| Shea Butter | Deep hydration | 2 tablespoons (24g) |
| Essential Oils | Fragrance and benefits | 5 drops (max 5%) |
| Vitamin E | Preservation and conditioning | 3-5 drops |
Trying out natural lip balm ingredients lets you make a personalized product. Your homemade lip balm will save money and offer a chemical-free alternative to store-bought options.
The Role of Beeswax in Lip Balm Making
Creating the perfect homemade lip balm starts with beeswax. This natural ingredient is key, offering great benefits for your lips and the product’s quality.

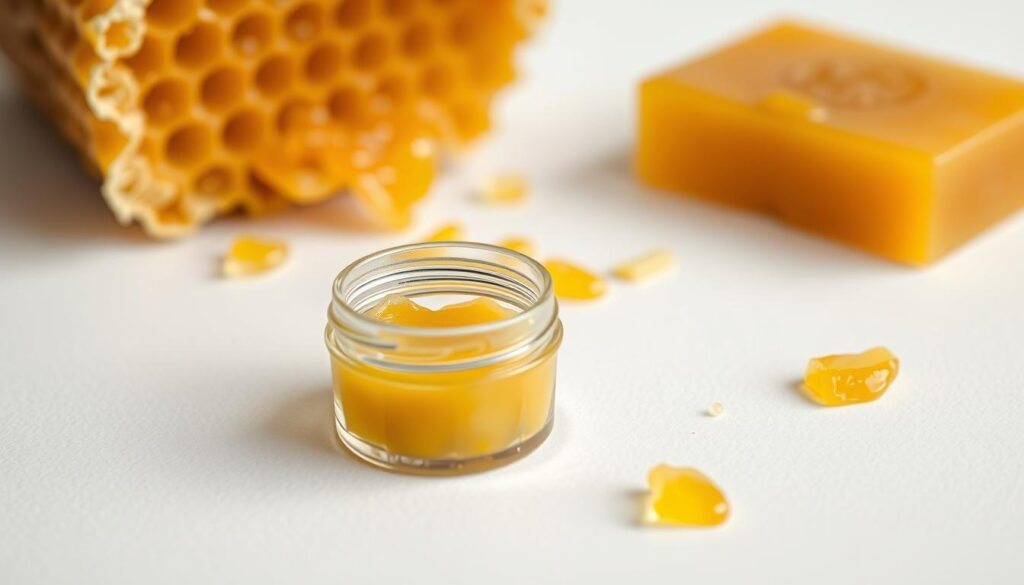
Beeswax is a vital part of your lip balm recipe. It provides many advantages for lip care and protection. Its special properties make it a must-have in homemade lip balms.
Properties and Benefits of Beeswax
Beeswax brings amazing benefits to your DIY lip balm:
- Creates a protective barrier on lips
- Locks in moisture effectively
- Helps stabilize the lip balm mixture
- Offers natural healing properties
Vegan Alternatives to Beeswax
If you prefer plant-based options, there are alternatives:
- Candelilla wax
- Carnauba wax
- Soy wax
Proper Ratios for Perfect Consistency
To get the right texture, use the right amounts:
| Ingredient | Quantity | Purpose |
|---|---|---|
| Beeswax | 3 oz | Provides structure and hardness |
| Liquid Oils | 3 oz | Adds moisture and smoothness |
| Butter | 2 oz | Enhances softness and spreadability |
When making your DIY lip balm, the right mix of ingredients is crucial. It ensures a smooth, protective, and nourishing product. Your lips will stay soft and hydrated.
Carrier Oils: Choosing the Right Base
Choosing the right carrier oil is key for your DIY lip care. Natural lip balm ingredients need a base oil that nourishes and protects your lips.
Carrier oils have different benefits for lip health. Here are some top picks for your natural lip balm:
- Coconut Oil: It’s very moisturizing and has antibacterial properties
- Sweet Almond Oil: It’s rich in vitamins E and D, perfect for sensitive lips
- Jojoba Oil: It mimics natural skin oils, keeping moisture balanced
- Grapeseed Oil: It’s lightweight and doesn’t feel greasy
When making DIY lip care, think about how fast the oil absorbs. Hazelnut and rosehip oils absorb quickly. Coconut oil takes longer. Choose based on your lip care needs.
Oil Selection Guide
| Skin Type | Recommended Oils |
|---|---|
| Dry Lips | Avocado, Olive Oil |
| Sensitive Lips | Jojoba, Calendula |
| Oily Skin Around Lips | Grapeseed, Jojoba |
Pro tip: Mix two or three carrier oils for a balanced, nourishing base. Each oil adds unique properties to your natural lip balm.
The Magic of Essential Oils for Lip Care
Essential oils can make your DIY lip balm recipe amazing. They add special benefits and nice smells to your natural lip balm.
Safe Essential Oils for Lip Application
Not all essential oils are good for lips. Some are gentle, while others can irritate. Here are some safe choices for your lip balm:
- Peppermint: Cooling and refreshing
- Lavender: Soothing and calming
- Sweet Orange: Uplifting and mild
- Frankincense: Healing and protective
Proper Dilution Guidelines
When using essential oils in your lip balm, dilution is key. Aim for a 1-2% concentration to avoid skin irritation.
| Essential Oil | Maximum Drops per Batch | Dilution Percentage |
|---|---|---|
| Peppermint | 60 drops | 5% |
| Lemon | 13 drops | 1% |
| Lavender | 45 drops | 3.75% |
Therapeutic Benefits of Different Oils
Each essential oil has its own benefits for your lip balm. Peppermint cools your lips, while lavender calms them. Sweet orange lifts your mood, and frankincense helps heal your skin.
Always do a patch test before using a new essential oil in your lip balm. Some people might have allergic reactions or skin irritation.
Step-by-Step DIY Lip Balm Tutorial
Making your own lip balm is simple! This guide will show you how to make a natural lip balm. It keeps your lips soft and safe. You only need a few ingredients to make it in your kitchen.
- Beeswax pellets
- Coconut oil
- Sweet almond oil
- Essential oils (optional)
- Lip balm containers
Here’s how to make your homemade lip balm:
- Measure ingredients carefully using a kitchen scale
- Melt beeswax and oils in a double boiler
- Stir until completely combined
- Remove from heat and add essential oils
- Pour mixture into lip balm tubes or containers
- Let cool for 1-2 hours until solidified
| Ingredient | Quantity | Purpose |
|---|---|---|
| Beeswax | 2 tablespoons | Provides structure and protection |
| Coconut Oil | 3 tablespoons | Moisturizes and nourishes lips |
| Sweet Almond Oil | 1 tablespoon | Adds smooth texture |
| Essential Oils | 20 drops | Optional fragrance and benefits |
Pro tip: For best results, use clean tools and work in a well-ventilated area. Your homemade lip balm can last up to a year when stored properly!
Storage and Shelf Life Tips
Keeping your DIY lip care fresh is key. Your homemade lip balm can last up to two years if stored right. This makes your lip balm tips very useful for keeping it in top shape.
Proper Container Selection
Choosing the right container is very important for your lip balm. You should pick:
- Dark glass containers
- Metal tins with tight-fitting lids
- UV-resistant plastic tubes
Temperature Considerations
Temperature is very important for your lip balm’s life. Keep it away from direct sunlight and heat.
| Temperature Range | Impact on Lip Balm |
|---|---|
| Below 60°F | Ideal storage condition |
| 60-75°F | Acceptable storage |
| Above 75°F | Risk of melting and separation |
Preservation Methods
Here are some ways to keep your lip balm fresh:
- Add vitamin E oil as a natural preservative
- Use clean tools during preparation
- Avoid contamination by using applicator tubes
Watch for signs like unusual odors, texture changes, or mold. Proper storage keeps your homemade lip balm fresh and effective for months.
Customizing Your Lip Balm Recipe
Creating a unique natural lip balm recipe lets you make it your own. The world is getting more interested in customized skincare. With a few simple changes, you can turn a basic recipe into something special.
- Add natural colorants like mica powder for a subtle shimmer
- Incorporate therapeutic essential oils for fragrance and benefits
- Include SPF ingredients for sun protection
- Experiment with different carrier oils and butters
Adding color makes your DIY lip balm stand out. Natural colorants are safe and vibrant. Beetroot powder gives a pink look, while cocoa powder adds a warm brown.
| Customization Type | Options | Benefits |
|---|---|---|
| Color | Mica powder, beetroot, cocoa | Natural pigmentation |
| Fragrance | Peppermint, lavender, vanilla | Aromatherapy effects |
| Protection | Zinc oxide, raspberry seed oil | Natural SPF |
Keep track of your recipes and experiments. With lip balm’s global appeal, your unique creation could inspire others. The beauty of natural lip balm recipes is their flexibility and personal touch.
Troubleshooting Common Issues

Making the perfect homemade lip balm can be tricky. Even those who have made it before can face challenges. These challenges can affect the quality and how well the lip balm works.
Common Texture Problems
Texture issues are common when making lip balm at home. Some of the most common problems are:
- Grainy texture
- Too soft consistency
- Overly hard balm
- Ingredient separation
Root Causes and Solutions
| Issue | Potential Cause | Solution |
|---|---|---|
| Graininess | Improper melting of shea butter | Melt ingredients slowly, use double boiler |
| Soft Consistency | Low wax percentage | Increase beeswax ratio |
| Hard Balm | Excessive wax content | Reduce beeswax, add more carrier oils |
When making your DIY lip balm, precision is key. The right mix of ingredients can prevent most texture problems. A good mix usually includes:
- 30% Beeswax
- 30% Kokum Butter
- 35% Unrefined Cocoa Butter
- 5% Vitamin E Oil
Pro lip balm tips say to cool your mixture in the fridge for a smoother texture. Always do a patch test to check for any allergic reactions to your ingredients.
Safety Precautions and Best Practices
When you start making your own lip care, safety is key. Making natural lip balm needs careful steps and a focus on skin health. Here are some tips to make lip balms safely and well.
Working with Hot Ingredients Safely
Lip balm making means heating ingredients. Here’s how to protect yourself:
- Always use heat-resistant glass or stainless steel containers
- Wear protective gloves when handling hot ingredients
- Use a dedicated double boiler or heat-safe measuring tools
- Work in a clean, uncluttered workspace
Ingredient Quality Standards
The quality of your lip balm depends on the ingredients. Choose food-grade, organic ingredients whenever you can. Over 80% of users prefer organic lip balms because of chemical concerns.
| Ingredient Type | Quality Recommendation |
|---|---|
| Oils | Cold-pressed, unrefined, organic |
| Waxes | Pure, food-grade, minimally processed |
| Essential Oils | 100% pure, therapeutic grade |
Allergies and Patch Testing
About 15% of people react to cosmetic ingredients. Here’s how to protect yourself:
- Perform a patch test before full application
- Apply a small amount of mixture to inner forearm
- Wait 24-48 hours to check for any adverse reactions
- Avoid ingredients that cause irritation
Your DIY lip care journey should focus on safety. Always listen to your body and be cautious when experimenting with new natural ingredients. By following these tips, you’ll make lip balms that are safe and work well for your lip skin.
Conclusion
Making your own natural lip balm is more than a hobby—it’s good for your skin and the planet. You’ll save money and avoid harsh chemicals found in store-bought lip balms. Making your own can save you 50-70% compared to buying it.
More and more people want beauty products that are made just for them. Studies show 60% of consumers like products that are customized. By making your own lip balm, you can use ingredients like beeswax and essential oils to create something just right for you.
Creating your own lip balm also helps the environment. It reduces plastic waste and uses natural ingredients. This shows that more people are choosing organic lip care products for a healthier lifestyle.
Every lip balm you make is a step towards taking care of yourself and the planet. It’s not just a product—it’s a way to show you care about your health and the environment.
